
17 Apr 2025
Post by Fiona
Introduction
Connecting a Hard Disk Drive (HDD) to your laptop can significantly expand your storage capabilities, whether you’re looking to store more data, back up important files, or access data from a different system. This guide will walk you through the process of connecting both external and internal HDDs to your laptop, whether you’re upgrading your laptop’s storage or retrieving data from an older drive. From preparing your workstation to ensuring your hard drive runs seamlessly, this comprehensive guide covers everything.
Preparation
Before connecting any HDD to your laptop, there are several preparation steps you should take to ensure a smooth process:
-
Collect the necessary tools and materials. For an external HDD, you’ll need the drive and a compatible USB or eSATA cable. For an internal HDD, you’ll require tools like screwdrivers and possibly a mounting bracket.
-
Back up your data. While connecting a new HDD generally doesn’t risk data loss, it’s always best to back up your important files before making hardware changes. Use cloud storage or another external drive to keep your data safe.
-
Find the right workspace. Ensure you have a clean, static-free environment to work in. Use an anti-static wrist strap if available, especially when handling internal components.
By following these steps, you’ll minimize the risk of encountering issues during and after the installation process.
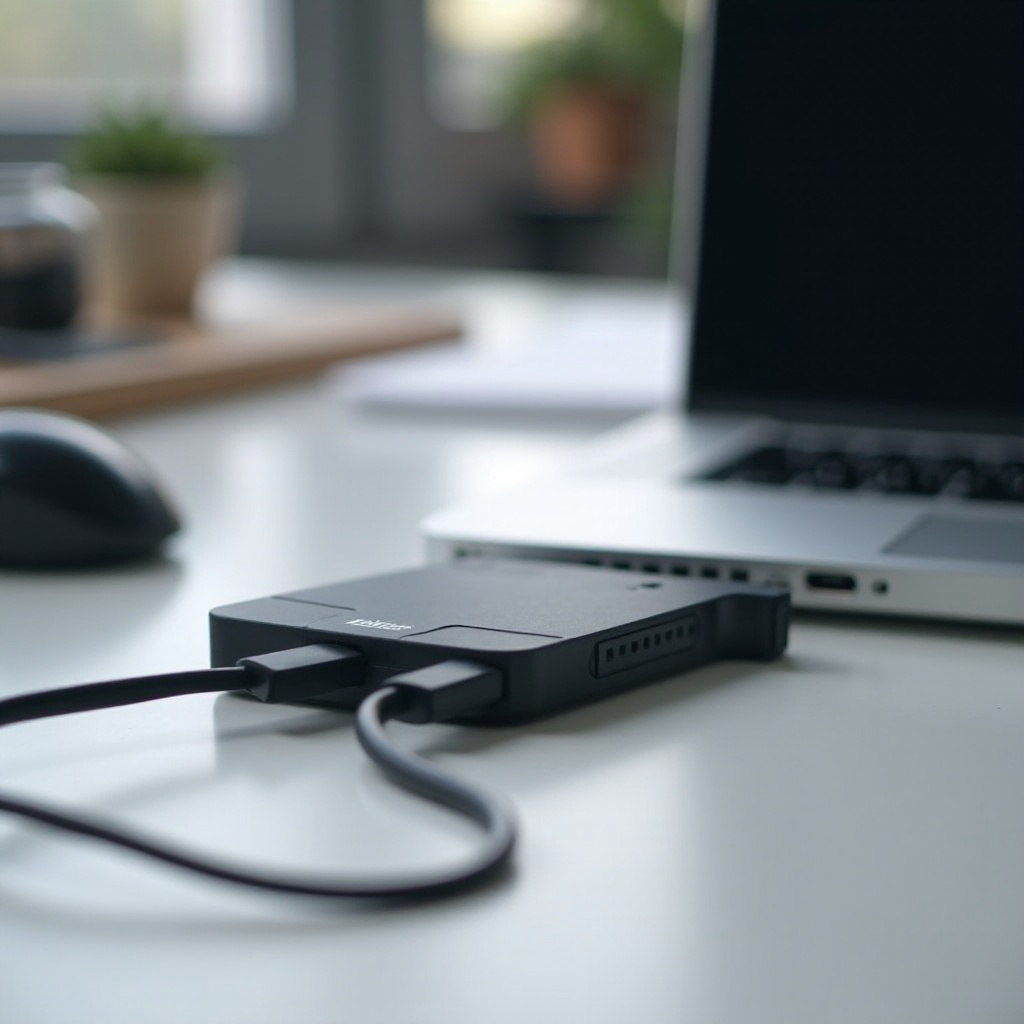
Connecting an External HDD to Your Laptop
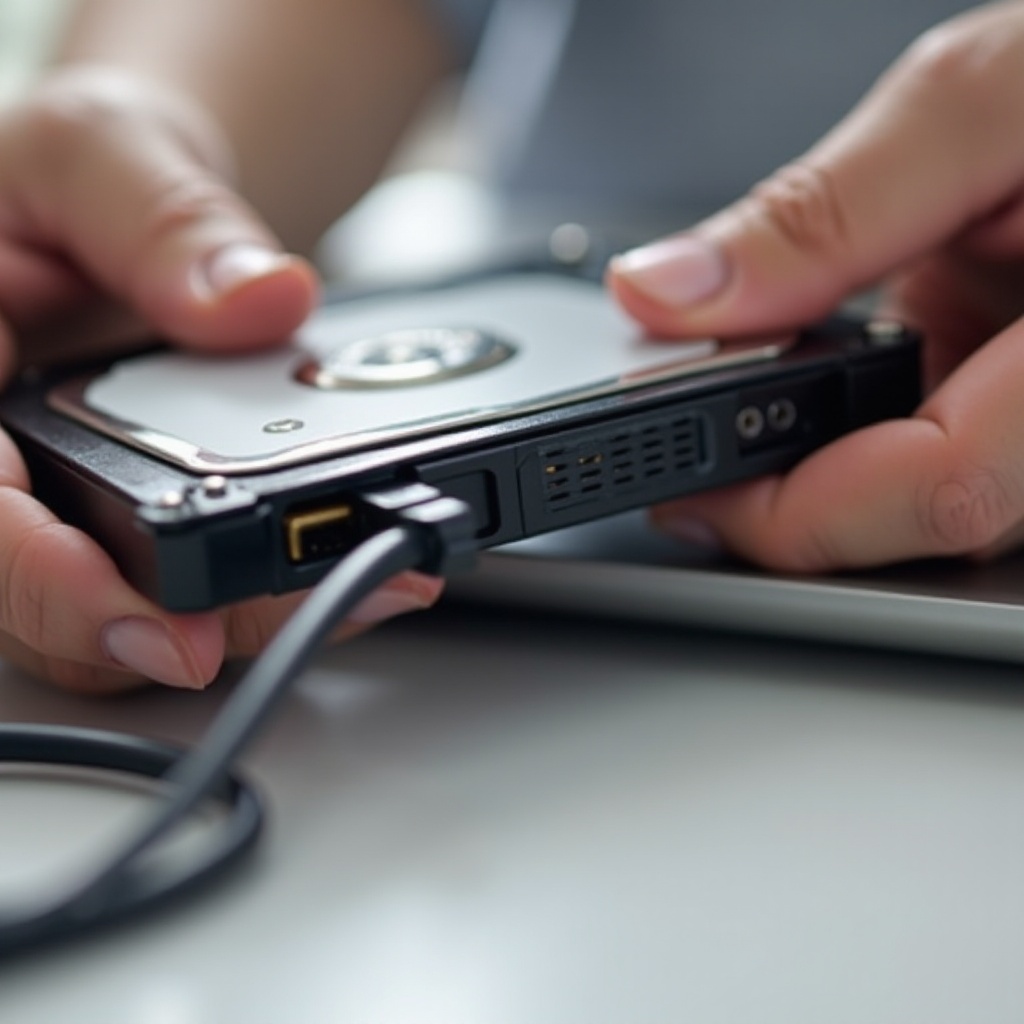
Checking Compatibility
The first step in connecting an external HDD is ensuring compatibility with your laptop.
-
Check the connectors. Most external HDDs use USB connections, but some might use newer USB-C ports or other types like eSATA or Thunderbolt. Verify that your laptop has the necessary port.
-
Understand system requirements. Ensure your operating system can support the external drive; modern Windows, macOS, and Linux systems generally support most HDDs available.
USB Connection Process
-
Connect the HDD. Plug the HDD into an available USB port on your laptop. For USB 3.0 or higher, choose corresponding ports for faster data transfer speeds.
-
Power up the HDD. Many external drives draw power directly from the USB port, but some models require an additional power source. Ensure the drive is receiving adequate power.
Installing Drivers
-
Automatic installation process. Most external HDDs will automatically install necessary drivers once connected. You might notice a notification indicating the system is setting up the new device.
-
Manual driver installation. If the external HDD doesn’t automatically install, visit the manufacturer’s website to download and install the appropriate drivers.
By completing these steps, your external HDD should be fully operational and ready for use.
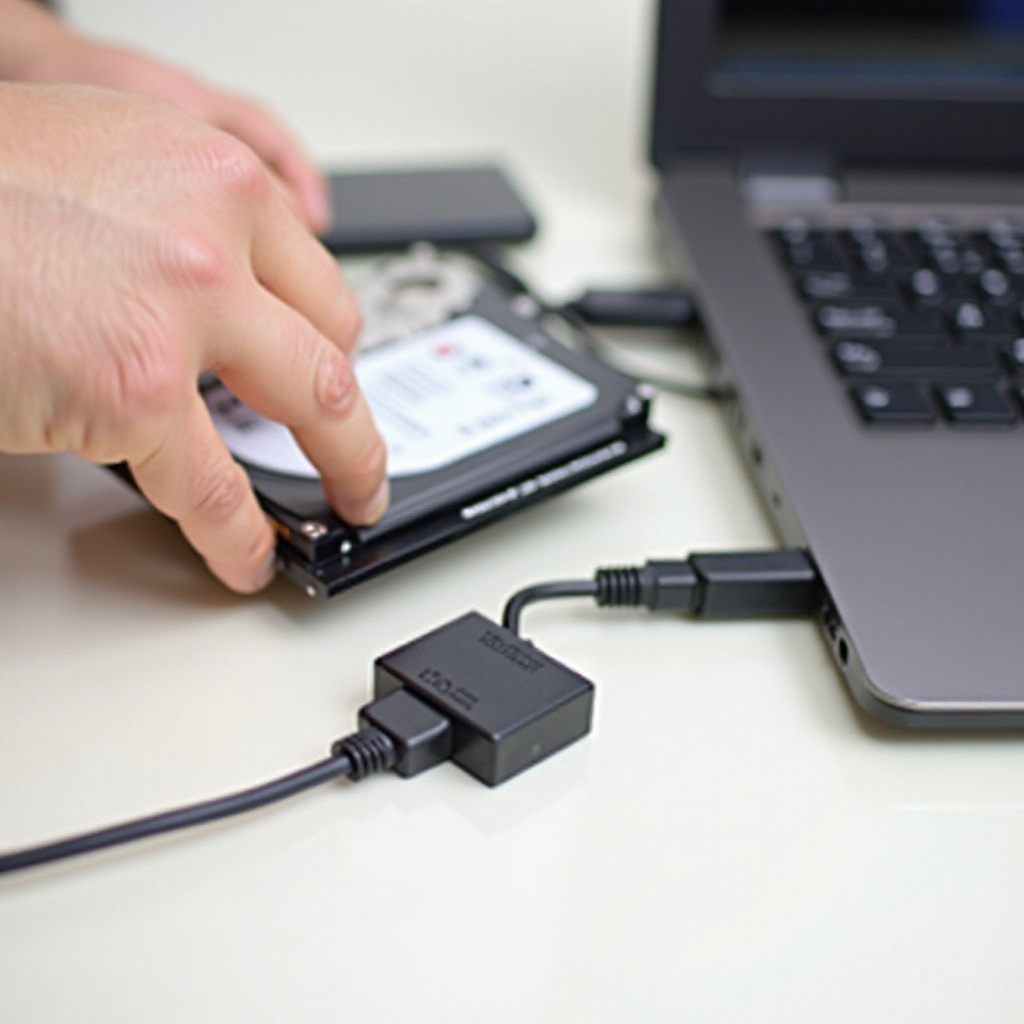
Connecting an Internal HDD to Your Laptop
Safety and Preparation
When connecting an internal HDD, take safety and preparation seriously:
-
Turn off and disconnect your laptop. Ensure all power sources are removed to avoid electrical hazards.
-
Discharge any static electricity. Use antistatic tools or touch a grounded metal object to prevent static damage to sensitive components.
Opening the Laptop
-
Locate the access panel. Most laptops have a dedicated panel for hard drive access. Consult your laptop’s manual if needed.
-
Remove the necessary screws. Use a precision screwdriver to carefully remove screws holding the access panel. Set the screws aside in a safe location.
Installing the Internal HDD
-
Remove the old HDD (if applicable). If you’re replacing an existing drive, carefully disconnect and remove it.
-
Insert the new HDD. Align it correctly and gently connect it to the motherboard. Ensure a secure fit and connection.
Reassembling the Laptop
-
Replace the access panel. Secure it back into place with the screws you previously removed.
-
Reconnect power sources. Reattach the battery and power on your laptop.
Completing these steps should get your new internal HDD ready for the next setup phase.
Setting Up Your New HDD
Initializing the HDD
Once the HDD is connected, the next step is initialization:
-
Access Disk Management. In Windows, right-click ‘This PC’ > ‘Manage’ > ‘Disk Management.’ On macOS, open ‘Disk Utility.
-
Initialize the drive. Follow the prompts to initialize the drive. Choose between MBR or GPT partition styles based on your needs.
Formatting the HDD
-
Create a new volume. Right-click the unallocated space on your new drive and select ‘New Simple Volume.
-
Format the drive. Set the File System (NTFS for Windows, HFS+ for macOS) and complete the formatting process.
Transferring Data
With the drive formatted and ready to use, you can start transferring data:
- Copy files. Use the drag-and-drop method or dedicated software to migrate your data to the new HDD.
Setting up your HDD ensures it’s ready for long-term use and data storage.
Troubleshooting Common Issues
Connection Problems
If your HDD doesn’t connect properly:
-
Check connections. Ensure all cables are securely connected.
-
Try different ports. Use another USB port or cable to see if the issue resolves.
Driver Issues
-
Reinstall drivers. Whether automatic or manual, reinstall the HDD drivers to resolve issues.
-
Update the OS. Sometimes, operating system updates can solve driver compatibility problems.
HDD Not Recognized
-
Check Disk Management/Utility. See if the HDD appears uninitialized or unallocated.
-
Run diagnostics. Use built-in tools like CHKDSK (Windows) or Disk Utility First Aid (macOS) to locate and fix issues.
Conclusion
Connecting an HDD to your laptop, whether external or internal, can vastly expand your storage capabilities. By following the steps outlined above, you’ll be able to prepare, connect, and troubleshoot any HDD connection, ensuring a seamless and efficient process.
Frequently Asked Questions
How can I ensure my HDD is compatible with my laptop?
Check the connector type (e.g., USB, eSATA, SATA) and ensure your laptop supports it.
What should I do if my laptop doesn’t recognize the HDD?
First, check connections and power sources, then reinstall drivers and update your operating system.
Is it safe to keep my HDD connected all the time?
Generally, yes for external HDDs, but ensure they’re properly ejected before disconnecting to avoid data corruption.